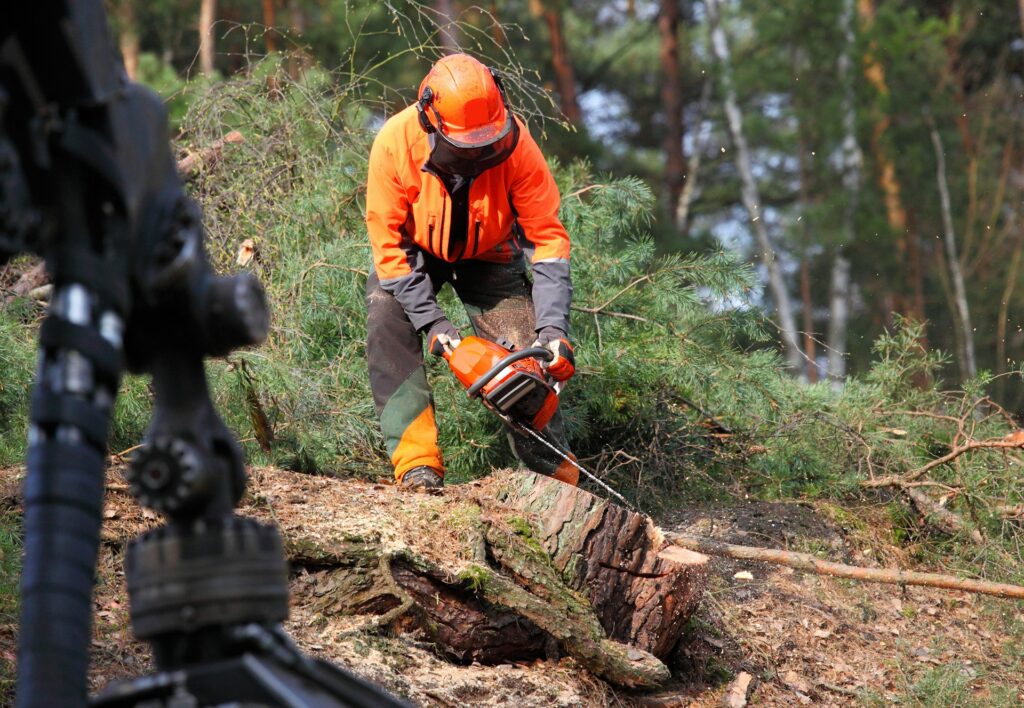
Removing a tree can seem like a daunting task for homeowners. Sometimes, though, it’s necessary for safety or landscape improvement. Trees might need to be removed because they are dead, diseased, or pose a threat to your home or yard. Understanding the process and taking the right steps can make the job easier and safer.
Before diving into the actual tree removal, it’s crucial to assess if the tree truly needs to go. Not all trees that appear problematic need removal. Sometimes simple trimming or treatment can solve the issue. Evaluating the tree’s health and location helps you decide the best course of action.
If tree removal is indeed necessary, preparing properly makes all the difference. Having the right tools, understanding the techniques, and considering safety measures helps prevent accidents. Once the tree is down, proper cleanup and stump grinding ensure your yard looks good and stays safe.
Read on as we walk you through each step, making tree removal manageable and straightforward for homeowners.
Homeowner’s Guide to Stress-Free and Safe Tree Removal
1. Assessing the Need for Tree Removal
Before removing a tree, it’s important to assess whether removal is truly necessary. Start by examining the tree’s health. Look for signs like dead or falling branches, hollow or decaying trunk, and fungal growth around the base. These are indications that the tree might be dying or already dead. If the tree is diseased, sometimes treatment can save it, but severe cases may require removal.
Next, consider the tree’s position. If it’s leaning dangerously towards your home, power lines, or other structures, it poses a risk and may need to be removed. Trees that are too close to buildings can also cause damage to foundations, driveways, and underground pipes with their roots. In such cases, removing the tree might be the safest option.
Finally, think about the tree’s impact on your landscape. Sometimes, trees can block sunlight, making it hard for other plants to grow. They might also crowd other trees or take up too much space in your yard. Weighing these factors helps you decide if the tree truly needs to go or if other solutions, like trimming, might work.
2. Preparing for Safe Tree Removal
Once you’ve determined that tree removal is necessary, proper preparation ensures the job goes smoothly and safely. First, gather the right tools. You’ll need a chainsaw, pruning shears, a ladder, safety goggles, gloves, and a hard hat. Having the correct equipment from the start prevents delays and accidents.
Before starting, inspect the area around the tree. Remove any obstacles or debris that might get in the way. Ensure there’s a clear path for the tree to fall, away from structures, vehicles, or utility lines. It’s crucial to identify an escape route for yourself in case the tree falls unexpectedly.
Next, check the weather forecast. Avoid removing trees during heavy winds, rain, or storms, as these conditions can make the task more dangerous. A calm, dry day is ideal for tree removal. Taking these steps before you begin keeps you safe and makes the process more efficient, setting you up for success when it’s time to remove the tree.
3. Safe Tree Removal Techniques for Homeowners
When you’re ready to remove the tree, following the right techniques is essential for safety and effectiveness. Start by trimming any lower branches using pruning shears. This helps to minimize the risk of branches falling unexpectedly and gives you a clearer view of the trunk.
Next, make a notch cut—the first cut—in the tree trunk facing the direction you want the tree to fall. This cut should be about one-quarter of the way through the trunk. After that, make a felling cut on the opposite side of the notch. This cut should be slightly higher than the first cut, creating a hinge that will help guide the tree’s fall. Stand back and watch the tree carefully as it begins to fall.
Always prioritize safety. Wear all recommended protective gear, and never turn your back on a falling tree. If you’re uncomfortable with any part of the process, consider leaving it to professionals. Some trees are simply too large or too close to structures to remove safely without expert help.
4. Post-Removal Cleanup and Stump Grinding
After the tree is down, the cleanup begins. Start by picking up smaller branches and debris. If the tree was large, you’ll need a chainsaw to cut the trunk into manageable sections. Stack the wood neatly if you plan to use it for firewood or arrange for its removal.
Stump grinding is the next step. Leaving a stump in your yard can attract pests and create a tripping hazard. Rent a stump grinder or hire a professional to grind the stump down to below ground level. This makes it easier to cover with soil or grass, seamlessly blending the area back into your yard.
Dispose of the debris properly. You can either take it to a local recycling center or arrange for a yard waste removal service. By cleaning up thoroughly and handling the stump, you ensure that your yard looks neat and stays safe.
Safe and Simple Tree Removal
Removing a tree is a significant task, but with proper assessment, preparation, and techniques, it can be done safely and effectively. This guide aims to help homeowners navigate the process, keeping safety and efficiency in focus from start to finish. From understanding the need for removal to conducting a thorough post-removal cleanup, these steps are designed to make the job easier.
Every tree removal project is unique, and sometimes calling in professionals is the best choice. For expert tree removal services in Atlanta, contact One Two Tree. Our experienced team is ready to help you safely and efficiently handle tree removal, stump grinding, and debris cleanup. Don’t risk injury or damage—reach out to One Two Tree today and let us take care of your tree removal needs!

