Removing a tree from your yard is a big task, but sometimes it’s absolutely necessary. Whether the tree is dead, diseased, or simply dangerous, taking it down safely is important for the health of your yard and the safety of your home. Trees can become a hazard if they show signs of failing health, and addressing the issue promptly can prevent accidents.
It’s important to recognize when a tree needs to be removed. Dead branches, unstable trunks, and disease are all clear indicators. A sick tree can attract pests and spread disease to other plants in your yard. Plus, overgrown or damaged trees can fall during strong winds or storms, posing a risk to structures and people below.
Proper tree removal requires careful planning and the right tools. Using the wrong equipment or techniques can make the job more dangerous. Knowing the correct steps to take ensures the tree is removed efficiently and safely. After removal, handling the leftover wood and debris properly is key to maintaining a neat and healthy yard. This guide will walk you through all the necessary steps to help you remove a tree safely and responsibly.
Signs It’s Time to Remove a Tree
It’s crucial to know when a tree needs to be removed. Here are some signs to look out for:
1. Dead or Dying Tree: If a tree has lost all its leaves, or the leaves are brown and brittle during the growing season, the tree might be dead or dying. Dead trees are a risk because they can fall without warning.
2. Diseased Tree: A tree with signs of disease, like fungus growth, discolored leaves, or oozing sap, is more likely to fail. It’s essential to remove diseased trees to prevent spreading illness to other plants.
3. Structural Damage: Cracked trunks or major branches with splits can make a tree unstable. Trees with severe structural damage are especially dangerous during storms and high winds.
4. Leaning Tree: If a tree suddenly starts leaning, especially if it’s not leaning toward the sun, it might have issues with its roots or trunk. A leaning tree can fall and cause serious damage.
5. Root Issues: Exposed roots, heaving soil around the base, or signs of decay at the base of the tree can indicate root problems. Trees with unhealthy roots may not have the support they need and can fall.
Spotting these signs early can help you decide when it’s time to remove a tree. Taking action before the tree falls can prevent potential harm to your property and people.
Necessary Tools and Equipment for Tree Removal
Removing a tree safely requires the right tools and equipment. Here is a list of what you will need:
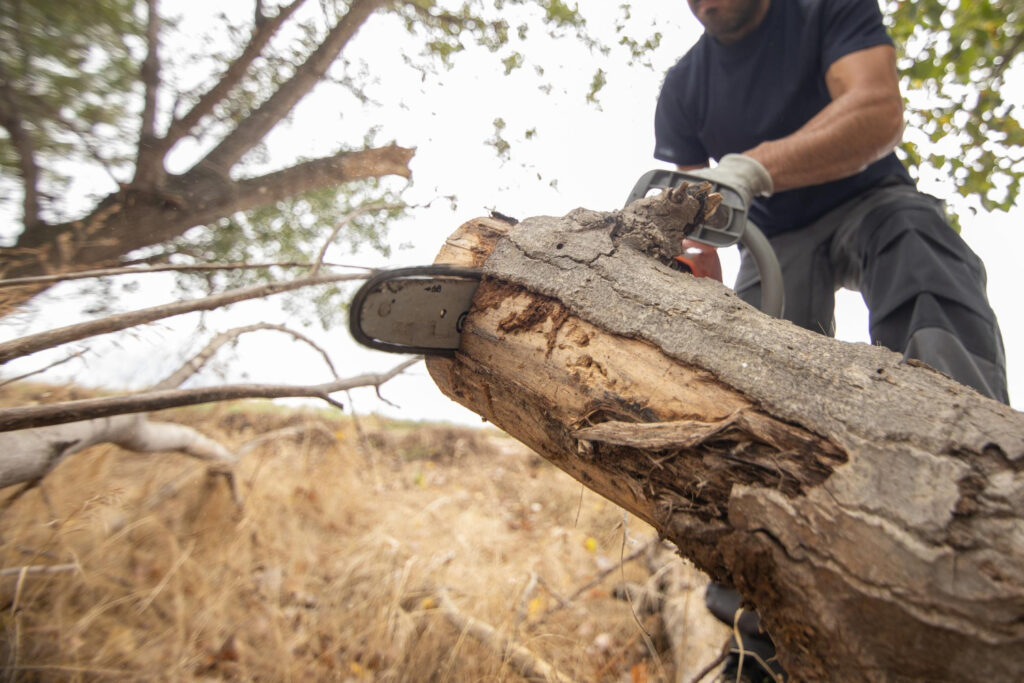
1. Chainsaw: A reliable chainsaw is essential for cutting through thick branches and the trunk. Make sure it is sharp and in good working condition.
2. Hand Saw: For smaller branches and precision cuts, a hand saw is useful. It’s also helpful in tight spaces where a chainsaw might be too bulky.
3. Loppers: These large, long-handled pruners can cut through thicker branches that are too small for a chainsaw but too big for hand pruners.
4. Rope and Harness: Safety gear is crucial when working at heights. A strong rope and harness will keep you secure while you work.
5. Hard Hat and Safety Glasses: Protecting your head and eyes from falling debris is essential. Always wear a hard hat and safety glasses during tree removal.
6. Gloves: Wear heavy-duty gloves to protect your hands from cuts, scrapes, and blisters while handling tools and branches.
7. Ladder: A sturdy ladder will help you reach higher branches safely. Make sure it’s stable and set on level ground.
8. Wood Chipper: To manage the debris, a wood chipper can turn branches and smaller tree pieces into mulch, making cleanup easier.
Having the right tools ensures that you can remove the tree safely and efficiently. This equipment will help you handle everything from the initial cuts to the final cleanup.
Step-by-Step Guide to Safe Tree Removal
Removing a tree safely involves several steps. Here’s a guide to help you do it right:
1. Assess the Area: Before you start, check the area around the tree. Look for hazards like power lines, buildings, or other trees that could get in the way. Make sure you have a clear path for the tree to fall.
2. Plan the Cut: Decide which direction you want the tree to fall. This should be the direction where it will cause the least damage. Clear away any obstacles in that path.
3. Make the First Cut: Make a horizontal cut into the tree trunk about one-third of the way through, on the side facing the direction you want the tree to fall. This cut is called the notch cut.
4. Make the Second Cut: Make a second cut at a downward angle above the first cut to remove a wedge of wood. This should create a notch that helps guide the tree’s fall.
5. Make the Final Cut: Move to the opposite side of the tree and make a horizontal cut slightly above the bottom of the notch cut. This is called the felling cut. Make sure to leave a small hinge of uncut wood between the notch and the felling cut to control the tree’s fall.
6. Get to Safety: As the tree begins to fall, quickly move away along one of your planned escape routes. Never turn your back on the falling tree.
7. Limb and Buck the Tree: Once the tree is on the ground, remove the branches (limbing) and cut the trunk into manageable sections (bucking).
Following these steps carefully ensures that you can remove a tree safely without putting yourself or others in harm’s way.
What to Do with the Tree After Removal
After removing a tree, you need to decide what to do with the leftover wood and debris. Here are some options:
1. Firewood: If you have a fireplace or fire pit, you can cut the trunk and larger branches into logs for burning. Make sure to let the wood dry out for a few months before using it as firewood.
2. Mulch: Use a wood chipper to turn smaller branches and twigs into mulch. Mulch is great for your garden as it helps retain moisture and suppress weeds.
3. Stump Grinding: If you want a level ground, consider grinding the stump down. A stump grinder can turn the leftover stump into small chips.
4. Composting: Smaller branches and leaves can be added to a compost pile. Over time, they will break down and turn into nutrient-rich soil for your garden.
5. Local Disposal: If you don’t have a use for the wood, check with your local waste management service. They often have guidelines for tree debris disposal.
6. Creative Projects: Larger pieces of wood can be used for DIY projects like furniture or garden borders. Get creative and see what you can make!
Handling the tree properly after removal helps keep your yard neat and can provide useful materials for other purposes.
Conclusion
Removing a tree safely is a crucial task that requires careful planning and the right tools. Knowing when to remove a tree, having the correct equipment, and following a step-by-step guide ensures that the process is done safely and efficiently. Recognizing the signs that a tree needs to be removed, like dead branches or structural damage, helps prevent accidents and keeps your property safe.
After the tree is down, dealing with the wood and debris properly is essential. Whether you turn it into firewood, mulch, or use it for creative projects, managing the leftovers helps keep your yard tidy and makes the most of the removed tree.
Expert help can make the tricky job of tree removal easier and safer. If you have a tree that needs to be removed, contact One Two Tree. We offer professional tree removal services in Atlanta to ensure your yard stays safe and beautiful. Call us today to schedule a consultation and let our team handle the job for you.

